.webp)
.webp)
Getting Started with Brisk Teaching
New to Brisk? Sign up and start here to have something ready for your class tomorrow.
What is Brisk Teaching?
Brisk is an education platform that brings AI into the tools teachers already use, helping them build lessons, personalize learning for every student, and determine what to teach next.
Brisk works in two ways:

A Chrome or Edge extension. Brisk embeds into Chrome or Edge and works inside the tools you're already in — Docs, Slides, PDFs, YouTube, and more. In-the-moment support, right in your browser. No copy-paste required.
A web platform. Brisk also gives you a dedicated space to plan, assign, and give feedback — app.briskteaching.com is your home base.
Sign up now.
Get set up in minutes. Thank yourself all year.
Sign up for your free Brisk account below
On your phone? Create your account now and check your email to finish installing on your computer.
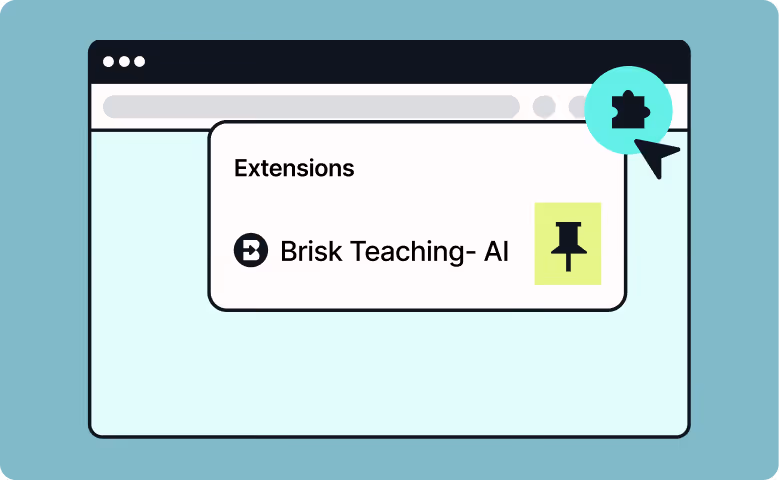
Put Brisk in your browser
Add Brisk to Chrome or Edge and pin it to your toolbar. You'll see the Brisk 'B' icon in the bottom right corner of your browser — click it to use AI wherever you're working.
(Need help? Learn how to pin Brisk.)
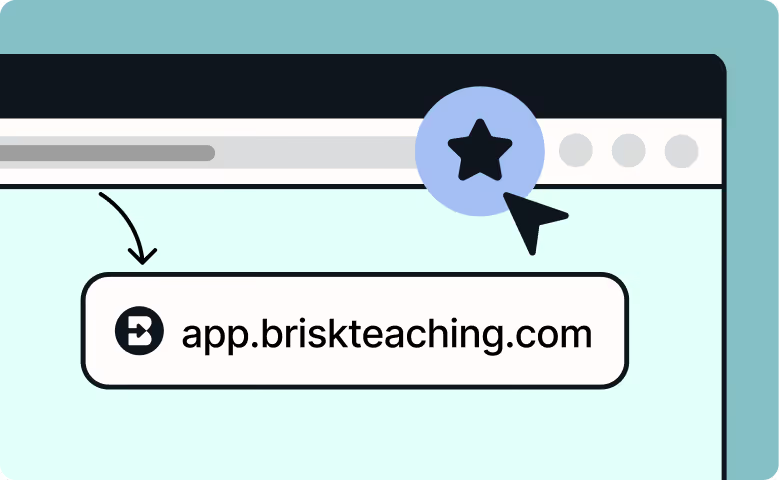
Bookmark your home base
Save app.briskteaching.com for easy access. Everything you create with Brisk lives here.
Pick a tool and try it!
Below are four things Brisk can take off your plate today. Each one takes less than a minute.
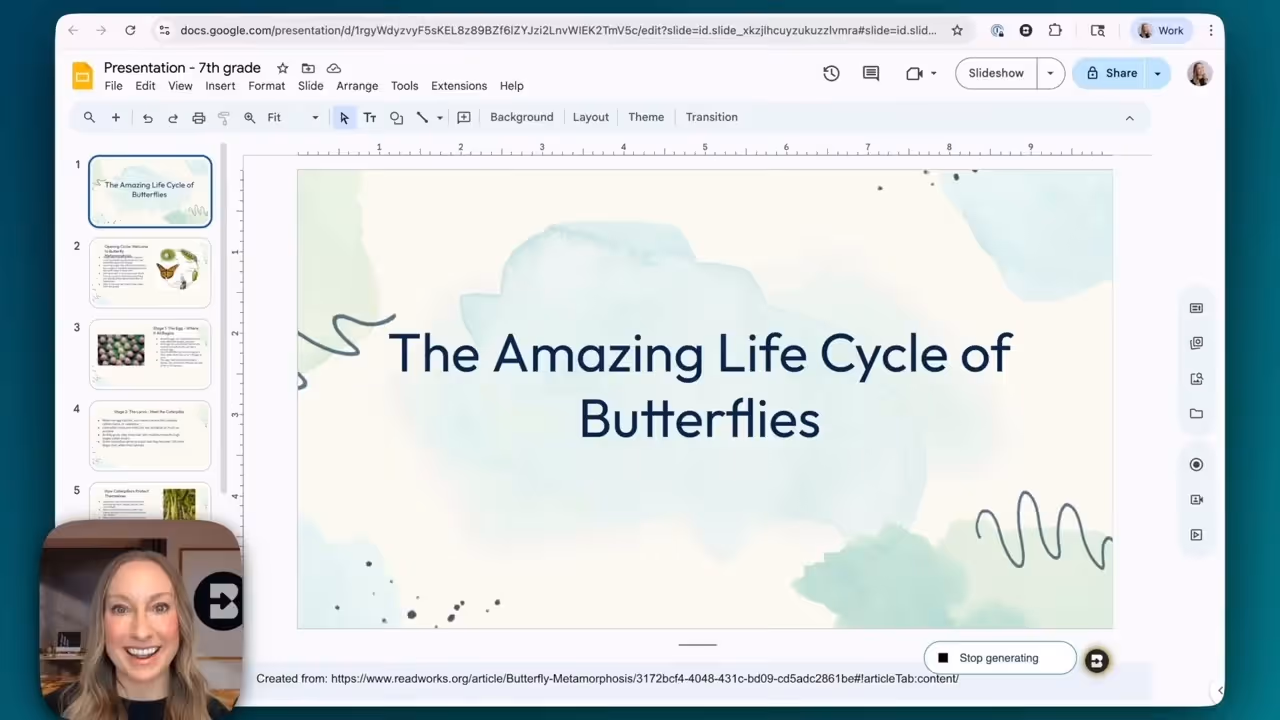
Generating slides from a YouTube video
Turn any video into a ready-to-teach presentation.
Open the YouTube video, then click the Brisk icon and click Create → Presentation.
Tell Brisk what matters most for your lesson, then adjust level, length, language, and standards to fit your class.
Review your finished presentation and edit as needed — it's yours to customize.
What you get: A ready-to-teach presentation tailored to your class.

Don't stop there — Brisk can turn the same video into a quiz, a podcast for audio learners, or a student-facing activity. One video, a whole week of resources.
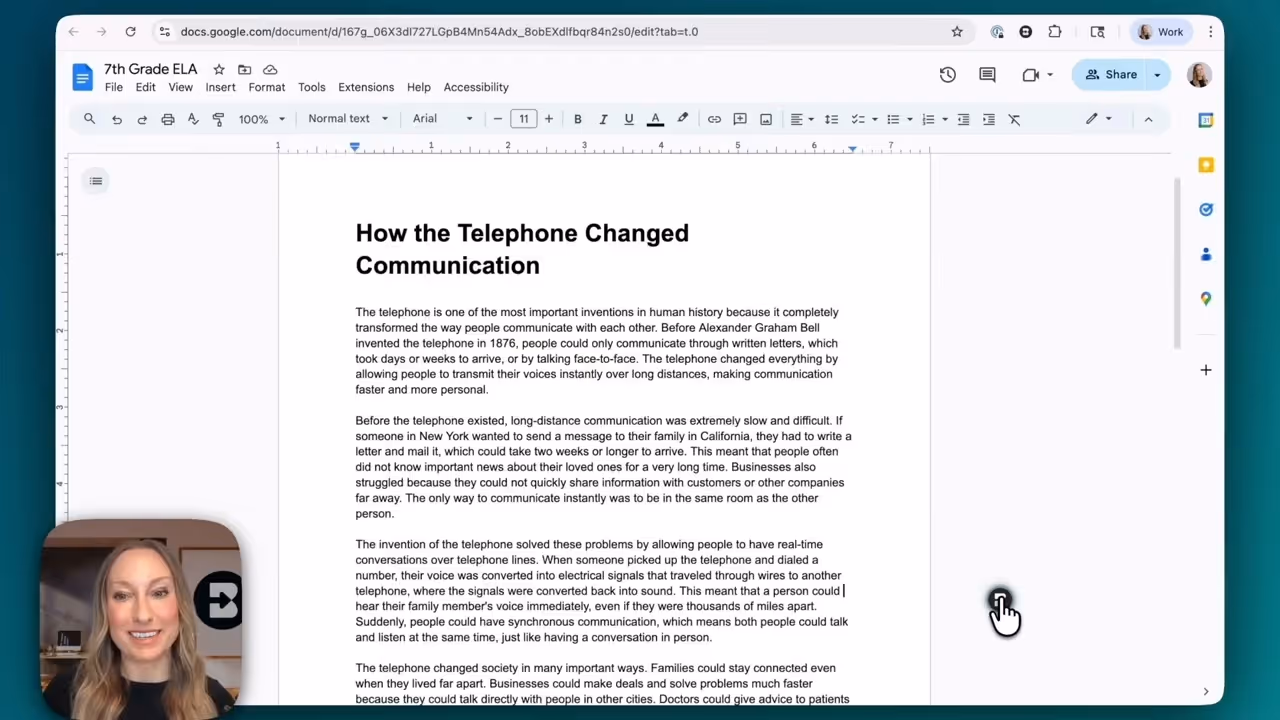
Giving feedback on a student’s work
Give meaningful feedback quickly without burning out.
Open the student's document, PDF, or image, then launch the Brisk extension and click Give Feedback.
Choose your feedback style (Targeted, Glows & Grows, Rubric Criteria, or Next Steps) and tell Brisk what to focus on.
Review Brisk's feedback, tweak as needed, and insert comments directly into the document.
What you get: Timely, actionable feedback for your students — fast, consistent, and always in your voice.
Try it NOW →
Once you've tried it on one assignment, give feedback in bulk. Brisk's Batch Feedback tool lets you import multiple pieces of student work at once. Start using Batch Feedback here.
Changing the reading level of an article
Make content accessible for every student.
Open any article or text, then click the Brisk icon and click Change Level.
Select the target grade level — or choose one of 50+ languages if you need a translation.
Review the adapted text to ensure it’s right for your learners.
What you get: Content that’s accessible to every student — without hours of manual adaptation.
Try it NOW →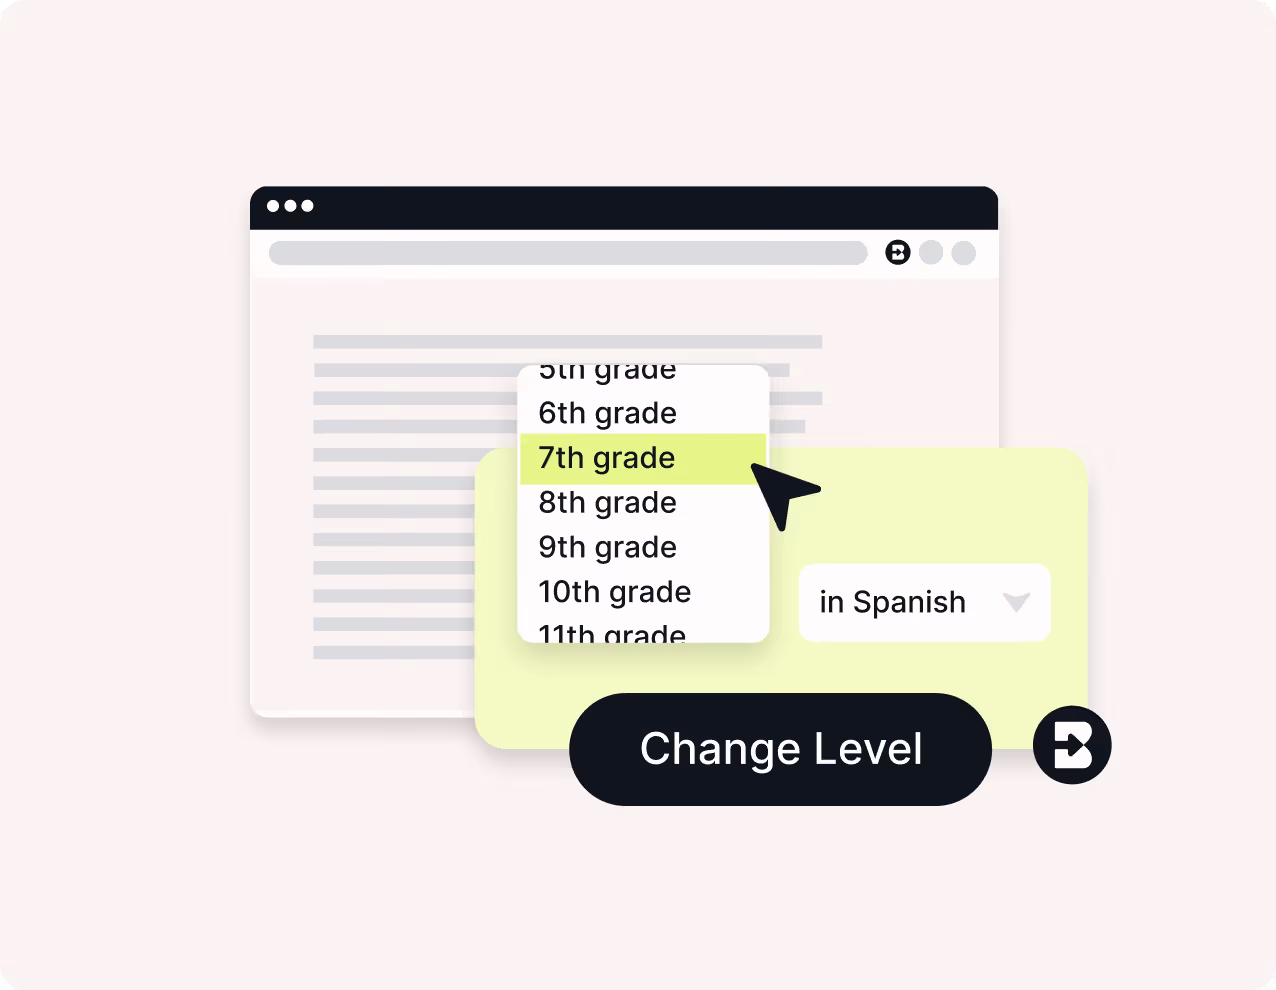
Turn your adapted text into a full lesson. Use Brisk's Create tools to build a quiz, lesson plan, or presentation from your new text.
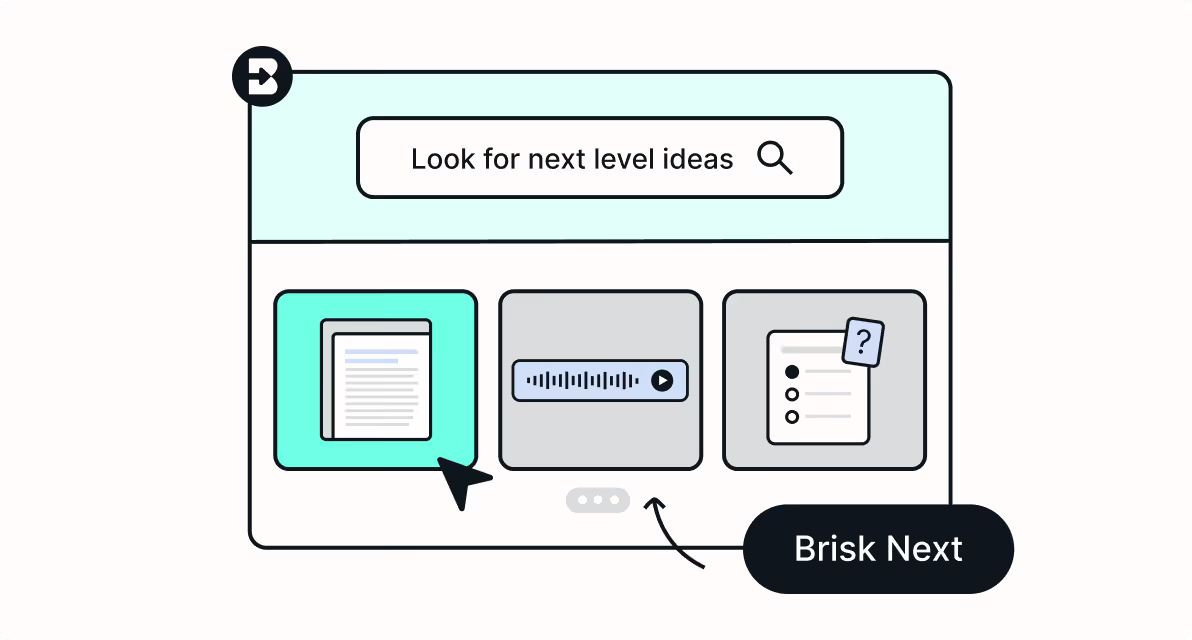
Create the resources you need for tomorrow
Get strong ideas and a suite of quality materials for any topic — fast.
Go to app.briskteaching.com (or click the ⌂ icon in the extension) to open Brisk Next.
Type a topic into the Brisk Next chat to generate lessons, activities, and checks for understanding — or scroll to Ideas for Today for timely, ready-made inspiration.
Once you’ve generated resources with Next, use the built-in chat to refine any resource until it's exactly what you need.
What you get: A set of aligned, ready-to-use materials on whatever you want to teach.
Try it NOW →
Make Brisk Next part of your weekly planning routine. Try setting a reminder to build your week's resources using Next Recommendations and Bundles.
Join a guided Brisk walkthrough
Join a hands-on session built for educators who want practical wins. In just 45 minutes, you’ll see how Brisk works, try it live, and create something you can use in your classroom tomorrow.
Want to explore tutorials and certifications at your own pace?
See all PD resources.

Learn Brisk at your own pace
Our Getting Started playlist walks you through every Brisk feature step by step — from installing the extension to creating lessons, giving feedback, and building student activities.
Getting Started FAQs
What is Brisk Teaching?
Brisk is an AI platform that brings AI into the tools teachers already use, helping them build lessons, personalize learning for every student, and determine what to teach next. Brisk works with Google Docs, Google Slides, Microsoft Word Docs, Microsoft Powerpoint, articles, YouTube videos, PDFs, and more. With just a few clicks, Brisk quickly completes tasks that usually take hours, like generating student feedback, differentiating resources, creating instructional materials, and assessing student writing. Trusted by over 2 million teachers, Brisk is the leading AI-powered tool designed specifically for educators, helping them get more done in less time.
What do I get when I first sign up?
To ensure you fully experience Brisk's capabilities, new sign-ups automatically receive 14 days of free access to Brisk Premium. The Brisk Premium subscription is available to schools and districts and offers 10+ additional premium tools, including targeted feedback, student interventions, and alignment with educational standards.
After 14 days of Brisk Premium, you'll automatically transition to the Free Forever Plan, continuing your access to over 20 essential Brisk tools at no cost. Learn more about our plans here.
How do I get Brisk to show up in my browser?
Follow these steps to ensure Brisk is always ready to help:
- Pin Brisk to Your Chrome or Edge Toolbar: After installing Brisk, pin it to your browser toolbar for easy access. Watch this video to see how to pin Brisk.
- Brisk Automatically Pops Up: Once pinned, Brisk will automatically appear in the bottom right corner of popular platforms like Google Docs, Word Docs, Google Slides, Microsoft Powerpint, web articles, YouTube, PDFs, and more.
- Manually Trigger Brisk: If Brisk doesn’t appear automatically on the page, you can manually bring it up by clicking the Brisk icon in your Chrome toolbar.
- Still Not Showing Up? Brisk may need help identifying what to react to. Highlight text on the page, and Brisk should appear, ready to assist.
Can I move or hide the Brisk extension on my screen?
Yes, you can easily move or hide Brisk whenever you need:
- Show or Hide Brisk: Click the Brisk icon in your toolbar to make the Brisk extension either pop up or disappear from your screen.
- Move Brisk: Once Brisk is visible, simply drag the Brisk icon to any spot on your screen where it’s most convenient for you.
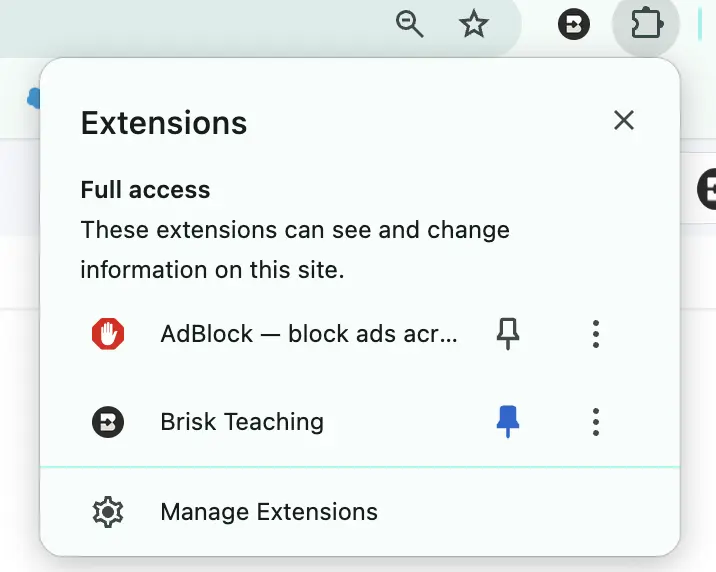
I saw a warning that Brisk can read and change all data on my websites. What does this mean?
This message is automatically generated by Google and appears when installing any Chrome extension. It is not specific to Brisk. Brisk only accesses data, including the websites you visit, when you specifically instruct it to. For example, Brisk will only interact with a site if you click the extension to create a resource or provide feedback. It does not access data when it is simply open in your browser, but isn't being used.
Brisk is blocked on my school network. How do I enable it?
You will need to contact your school IT administrator to allow-list the following on your school domain:
- brisk.education
- briskteaching.com
Your IT department may also need to allow the Brisk Chrome Extension ID: pcblbflgdkdfdjpjifeppkljdnaekohj.
What tools can I use with Brisk Teaching?
Brisk integrates seamlessly with your daily tools like Google Docs, Word Docs, Google Slides, Microsoft Powerpoint, Google Forms, web articles, PDFs, webpages, and YouTube, saving you hours of work across these platforms.
Brisk also integrates with Google Assignments in LMS platforms like Schoology, Canvas, Blackboard, and Google Classroom. It can generate feedback on assignments submitted through Canvas (using Speedgrader and Google Docs) and Turnitin.
We continue to work on additional integrations. If you have a specific integration request, please reach out to us at hello@briskteaching.com.